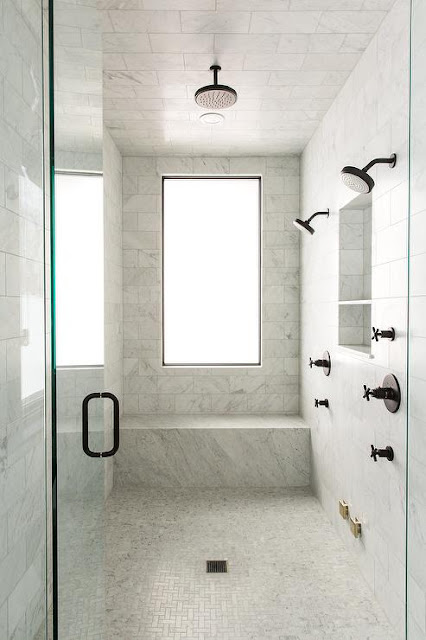
Don’t like the look of a wall in your bathroom or shower? Why not change it?
This blog will guide on tiling or retiling your shower wall, and help achieve a pro-level finish. Check out the following subsections and pointers –
The Preparations –
- Remove all the fixtures carefully, so they don’t get damaged in process. You can still use some fixtures after your project is finished.
- Secure taps and shower.
- Remove shower curtains and other bath accessories.
- If the wall you want tile is already a tiled wall, you might want to remove the existing tiles. You will need to use a hammer and chisel to remove the tiles carefully.
- Collect the debris and clean the area.
- Check the condition of the wall base. Ensure that it is smooth and level. If not, fix it and let it dry and cure for 24 to 48 hours.
Tile Application –
- Apply cement backer board and screw it tightly over the wall. It will work as the substrate for your shower wall.
- Let it settle for another 24 hours.
- Now you are ready for tile installation.
- Find a spot to place the first tile.
- Apply thin set mortar on the wall, and press your first tile gradually over it. Hold it for a while. And apply more tiles following your layout idea.
- Use a waterproof thin set mortar for shower wall. It will enhance the performance of your shower wall.
- Wait for the thin set to dry and harden.
- Apply grout and let it cure.
Now you are ready to use your shower again. Connect the drains, water supply pipes, and electricity boards.
This blog has been brought to you by ShadesOfStone.com, one of the trusted tile stores in US.

Comments
Post a Comment